Composting, the age-old practice of transforming organic waste into a nutrient-rich soil amendment, is experiencing a renaissance. In a world grappling with waste management and soil degradation, composting offers a simple yet powerful way to contribute to a more sustainable future. For beginners, the process might seem daunting, but it’s remarkably straightforward and rewarding. This comprehensive guide will demystify composting, providing you with all the information you need to create your own thriving compost pile and reap the benefits of “black gold” for your garden.
Understanding the Magic of Decomposition
At its core, composting is a natural biological process driven by microorganisms like bacteria, fungi, and actinomycetes. These microscopic superheroes break down organic matter into simpler compounds, releasing essential nutrients and creating humus, a stable, dark, and spongy substance that improves soil structure, water retention, and fertility. To facilitate this process, we need to provide the right environment for these organisms to flourish: a balance of carbon-rich “browns,” nitrogen-rich “greens,” moisture, and oxygen.
Choosing Your Composting Method and Location
Before diving into the pile itself, you need to decide on a composting method that suits your space, lifestyle, and resources. Several options exist:
- Open Pile: The simplest and most economical method, involving building a heap directly on the ground. It’s ideal for larger yards and abundant organic waste.
- Compost Bin: Enclosed containers made from wood, plastic, or wire mesh. Bins help contain the pile, retain moisture, and regulate temperature, making them suitable for smaller spaces and urban settings. You can purchase pre-made bins or build your own.
- Tumbler: Rotating drums that accelerate decomposition by aerating the pile with each turn. Tumblers are convenient, prevent pests, and produce compost faster, but they can be more expensive.
- Vermicomposting (Worm Composting): Using red wiggler worms to break down food scraps in a specialized bin. Vermicomposting is perfect for indoor composting, especially in apartments or small spaces.
Once you’ve chosen your method, select a suitable location:
- Accessibility: Choose a spot that’s easily accessible with your kitchen scraps and yard waste.
- Drainage: Ensure the location has good drainage to prevent waterlogging, which can lead to anaerobic conditions and foul odors.
- Sunlight and Shade: A balance of sunlight and shade is ideal. Too much sun can dry out the pile, while too much shade can slow down decomposition.
- Proximity to Garden: Ideally, your compost pile should be located near your garden to minimize transportation.
The Essential Ingredients: Browns and Greens
The success of your compost pile hinges on maintaining the right balance of “browns” (carbon-rich materials) and “greens” (nitrogen-rich materials). This balance provides the optimal carbon-to-nitrogen ratio for microbial activity.
Browns (Carbon-Rich Materials):
- Dry Leaves: Fallen leaves are an excellent source of carbon. Shredding them speeds up decomposition.
- Straw and Hay: Provide good aeration and structure to the pile.
- Wood Chips and Sawdust: Use untreated wood only, as treated wood may contain harmful chemicals.
- Paper and Cardboard: Shredded newspaper, cardboard, and paper bags are acceptable, but avoid glossy paper and colored ink.
- Dry Grass Clippings: Use only untreated grass clippings and mix them well to prevent matting.
Greens (Nitrogen-Rich Materials):
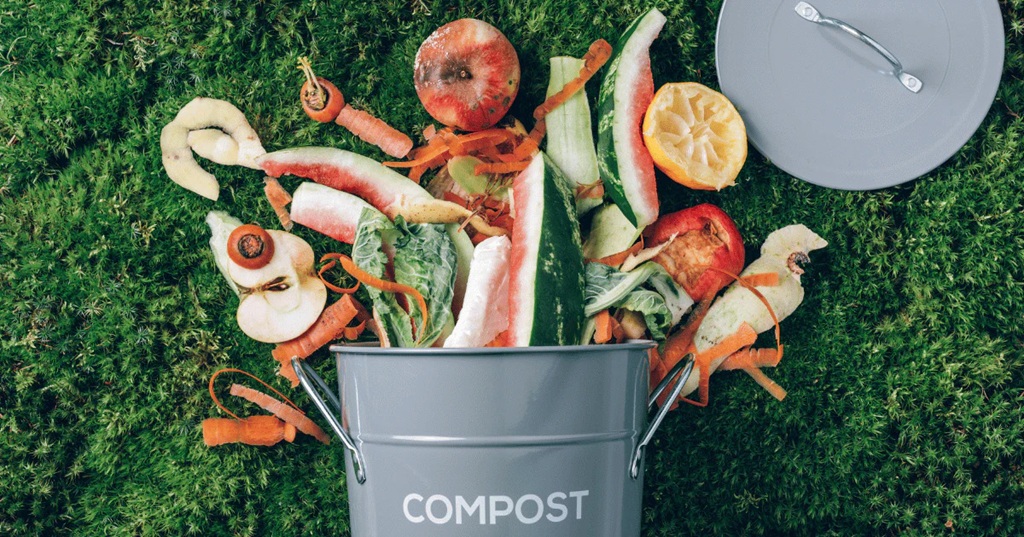
- Kitchen Scraps: Vegetable and fruit peels, cores, and scraps are excellent sources of nitrogen. Avoid meat, dairy, and oily foods.
- Green Grass Clippings: Freshly cut grass is a nitrogen-rich material.
- Coffee Grounds and Tea Bags: Provide nitrogen and add acidity to the compost.
- Garden Waste: Weeds (before seeding), plant trimmings, and spent flowers are valuable additions.
- Manure (Herbivore): Manure from cows, horses, and chickens is a rich source of nitrogen, but avoid pet waste.
Achieving the Perfect Balance
The ideal carbon-to-nitrogen ratio for composting is around 30:1. This means you should aim for approximately 30 parts browns to 1 part greens by volume. While precise measurements aren’t necessary, a good visual guide is to have roughly two to three times more browns than greens.
Layering Your Compost Pile
Building your compost pile in layers ensures an even distribution of materials and promotes efficient decomposition.
- Base Layer: Start with a layer of coarse materials like twigs or branches to improve drainage and aeration.
- Brown Layer: Add a layer of browns, such as shredded leaves or straw.
- Green Layer: Add a layer of greens, such as kitchen scraps or grass clippings.
- Moisture: Water the layer until it’s moist but not soggy, like a wrung-out sponge.
- Repeat: Continue layering browns and greens, ensuring a good mix throughout the pile.
Maintaining Your Compost Pile
Regular maintenance is crucial for a healthy and productive compost pile.
- Turning: Turn the pile every few days or weekly to aerate it and promote even decomposition. Tumblers make turning easy, while open piles and bins require using a pitchfork or compost turner.
- Moisture: Monitor the moisture level and water the pile as needed to maintain a damp, but not soggy, consistency.
- Temperature: A hot compost pile (130-160°F) decomposes faster and kills weed seeds and pathogens. Use a compost thermometer to monitor the temperature. A cold compost pile will still decompose, but it will take longer.
- Troubleshooting: Address any problems that arise, such as foul odors (caused by anaerobic conditions), slow decomposition (caused by lack of moisture or insufficient nitrogen), or pests (attracted by meat or dairy scraps).
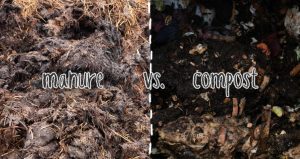
Related: Manure vs. Compost: The Key to a Vibrant Lawn
Harvesting and Using Your Compost
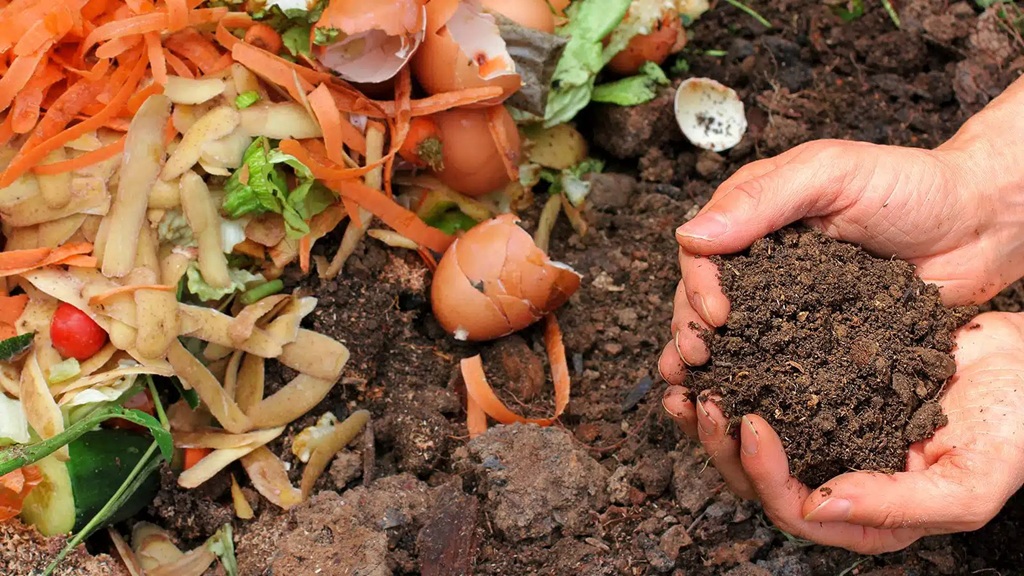
After several weeks or months, depending on your composting method and conditions, your compost will be ready for harvesting. Finished compost is dark, crumbly, and has a pleasant earthy smell.
- Sifting: Use a compost sifter to remove any large pieces of undecomposed material.
- Using Compost: Incorporate compost into your garden soil to improve its fertility, structure, and water retention. Use it as a top dressing, mix it into planting holes, or create compost tea for foliar feeding.
Related: 4 Simple Tests For Soil Health
People Also Ask About Kitchen Scraps (FAQs)
- What should I not compost?
- Meat, dairy, and oily foods attract pests and can create foul odors.
- Pet waste may contain harmful pathogens.
- Diseased plants can spread diseases.
- Treated wood may contain harmful chemicals.
- Weeds with seeds can spread throughout your garden.
- How long does it take to make compost?
- Hot composting can produce finished compost in a few weeks, while cold composting can take several months. Tumblers generally produce faster results.
- How do I know if my compost is ready?
- Ready compost is dark, crumbly, and has a pleasant earthy smell. It will also have a uniform texture, and any recognizable original materials will have broken down.
- What are the benefits of composting?
- Reduces waste sent to landfills.
- Enriches soil with essential nutrients.
- Improves soil structure and water retention.
- Reduces the need for chemical fertilizers.
- Helps sequester carbon from the atmosphere.
- What kind of bin should I use?
- The best kind of bin to use depends on the person. Tumblers will speed up the process, and help to reduce pests. Standard bins are wonderful and relatively cheap, and an open-air pile requires very little expense.
Composting is a rewarding and environmentally friendly practice that transforms waste into valuable resources. By following these simple steps, you can create your own thriving compost pile and contribute to a healthier planet.