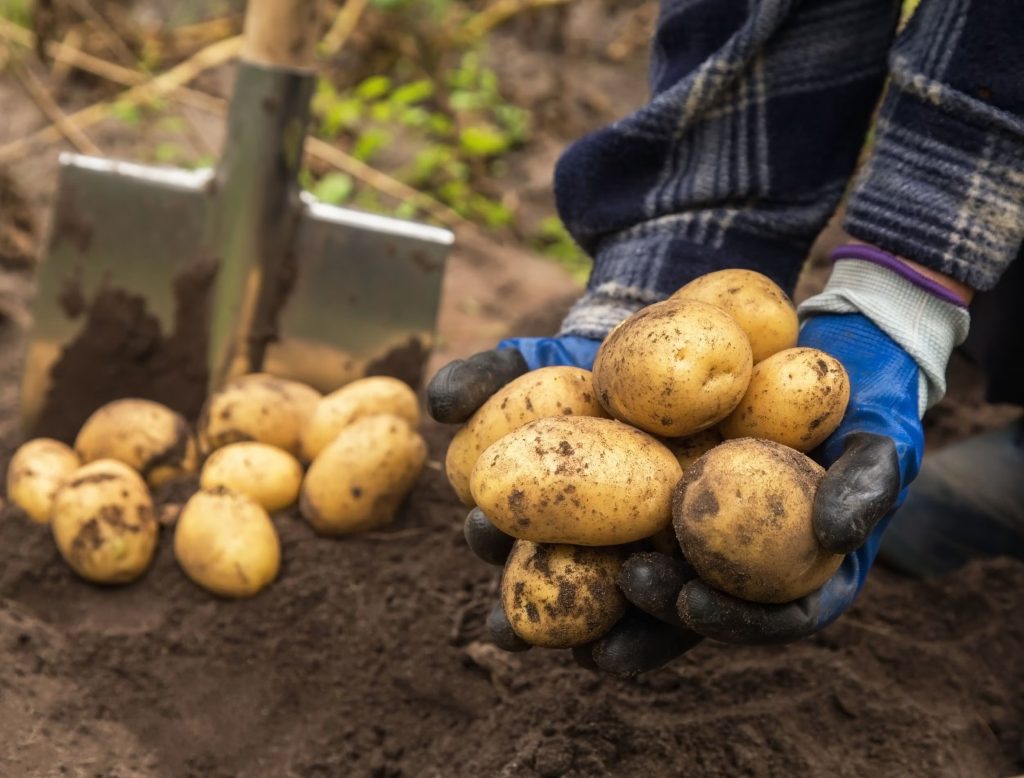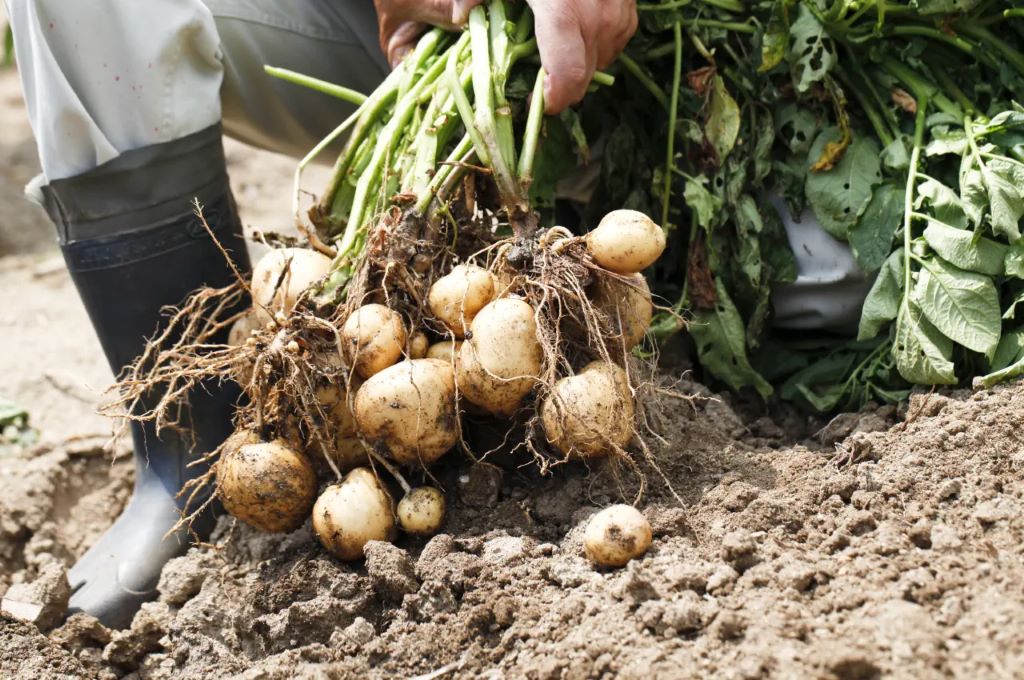
Potatoes are a beloved staple in kitchens around the world. Whether you’re a seasoned gardener or a first-time grower, harvesting potatoes at their peak is key to enjoying their best flavor and texture. So, how do you know when it’s time to dig in?
Understanding Potato Growth Stages
Potatoes go through several distinct growth stages before they’re ready for harvest:
- Sprouting: Seed potatoes begin to sprout, and green shoots emerge from the soil.
- Vegetative Growth: The plants focus on developing leaves and stems, gathering energy from the sun.
- Tuber Initiation: The plants start to form small tubers underground.
- Tuber Bulking: The tubers grow rapidly in size.
- Maturation: The plants begin to flower and set seed, while the tubers reach their mature size and develop a thick skin.
Key Indicators for Harvesting Potatoes
While the time frame for harvesting potatoes can vary depending on the variety and growing conditions, several signs indicate they’re ready to dig up:
- Foliage Dies Back: The most reliable sign is when the foliage of the potato plant turns yellow, withers, and dies back. This typically occurs about 10-12 weeks after planting for early varieties and 14-20 weeks for maincrop varieties.
- Skin Thickness: To test the skin, gently rub your thumb on a potato unearthed from the edge of the plant. If the skin rubs off easily, the potatoes need more time to mature. If the skin is firm and doesn’t come off, they’re likely ready.
- Flowering: While not always a perfect indicator, the appearance of flowers on potato plants often coincides with the tubers reaching a good size for harvesting. Some gardeners recommend waiting a couple of weeks after flowering for optimal flavor and storage potential.
- Calendar Days: Referencing the “days to maturity” listed on your seed packet can provide a general guideline for when to expect your potatoes to be ready. However, adjust this timeline based on the actual conditions in your garden.

Related: How to Keep Moisture in Soil?
Harvesting Tips for Success
- Choose the right time: Early morning or late evening are ideal for harvesting when the soil is cool.
- Use the right tools: A garden fork or potato fork is the best tool for gently lifting the potatoes without damaging them.
- Handle with care: Avoid bruising or nicking the potatoes, as damaged ones won’t store well.
- Cure the harvest: After digging up the potatoes, brush off excess soil and leave them to cure in a cool, dark, and well-ventilated area for about two weeks. This helps the skins to thicken and improves their storage life.
- Store properly: Once cured, store potatoes in a cool, dark, and dry location. Ideal storage temperatures range from 40-50°F (4-10°C). Avoid storing them in the refrigerator, as the cold temperatures can convert the starch to sugar, affecting the flavor.
New Potatoes vs. Maincrop Potatoes
- New Potatoes: Harvested when they’re young and tender, before the skins have fully developed. They have a delicate flavor and are best enjoyed fresh.
- Maincrop Potatoes: Grown to full maturity and harvested later in the season. They have a thicker skin and a more starchy texture, making them ideal for storage and a wide range of culinary uses.
Modern Farming Practices for Small-Scale Agriculture: Efficiency and Sustainability
Additional Tips for the Knowledgeable Gardener
- Staggered Planting: Plant early, mid-season, and late-maturing potato varieties to enjoy a continuous harvest throughout the growing season.
- Hilling: Mound soil around the base of the potato plants as they grow to encourage tuber development and protect them from sunlight.
- Pest and Disease Management: Monitor your plants for signs of pests and diseases, and take appropriate action if necessary.
By understanding the signs of potato maturity and following these harvesting tips, you’ll be able to enjoy a bountiful harvest of flavorful, homegrown potatoes. Happy gardening!


